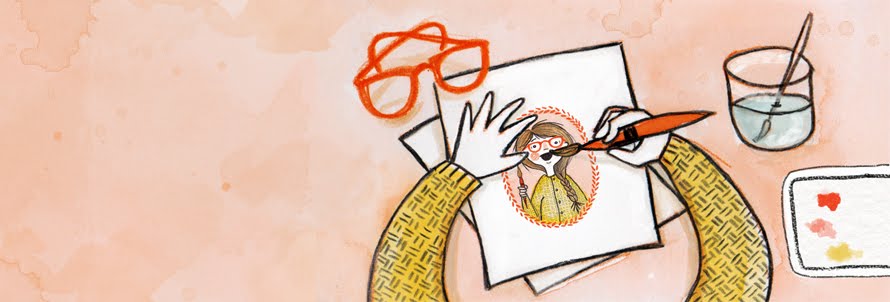
I thought I was going to have to cancel Crafty Friday this week because with all of the madness trying to prepare my art for the show at Blues on the Green, I forgot to plan a craft for this week. But lo and behold, my daughter shows up with this little project that she made:

It doesn’t require a lot of supplies, the steps are easy, and the results are striking. So Crafty Friday’s back on!
Here’s what you need:

3 pieces of paper…2 of the same color [background] and 1 contrasting color [silhouette] This is a great opportunity to teach your child about complimentary colors [colors opposite each other on the color wheel].
scissors
tape or glue
a pencil
a stencil [optional]
Step 1: Choose a shape that you want to use for your silhouette and draw it on the 1 piece of paper of a different color [in our case it was yellow]. You can trace a shape if you like, but make sure that whatever shape you use will translate well as a silhouette.

Step 2: Cut out your shape. Begin by first folding the paper to snip a slit that will allow you to cut into the shape without cutting the edges of the paper, like so:

Step 3: Tape or glue the shape to one piece of the contrasting paper. Then tape or glue the paper you cut the shape out of to the other piece of contrasting paper.

And that’s it, you’re done! If you want, you can frame the silhouettes and hang them to create a beautiful and striking piece of wall art.

Happy Crafting!
nessa dee
Oh, and by the way, I didn’t do as well as I would have liked at Blues on the Green, which was kind of a bummer, but the good news is that there is more art to put in my shop! So, keep checking back for original art, plus prints that will appear in the shop soon!


No comments:
Post a Comment